

If you have old photos, you need to create a digital archive of them. ALL of them. Yes, I'm serious but I'm also going to walk you through this process step by step.
Not sure what I mean by digital archiving? I’m talking about taking photos or scanning photos and documents and then storing those digital files responsibly by putting them on a hard drive AND a backup hard drive AND somewhere in online storage. Why all three? Hard drives fail. They get burnt up. Online services glitch or go out of business or you forget to share your username and password and nobody can access them if something happens to you.
Personally, I have a 2 TB genealogy hard drive (currently about $100 at Costco), a backup 2TB genealogy hard drive, and I upload every photo, video, and scan to Google Photos which is free if you choose their “High Quality” upload setting.
The most important thing about digital archiving is that you should be doing it for everything related to your family history including all photos and documents. The second-but-almost-most important thing about digital archiving is that you need to be doing it well. You should be scanning at a high resolution and remembering to scan the backs of photos if they contain any information at all (even if you don’t know what the info means yet).
I know that the idea of scanning photos and storing them somewhere as digital files is a little overwhelming, which is why companies that digitize things like photos, slides, and home movies have become so popular. However, those services can be expensive and it makes me nervous to think about boxing up irreplaceable photos and shipping them out of state to strangers.
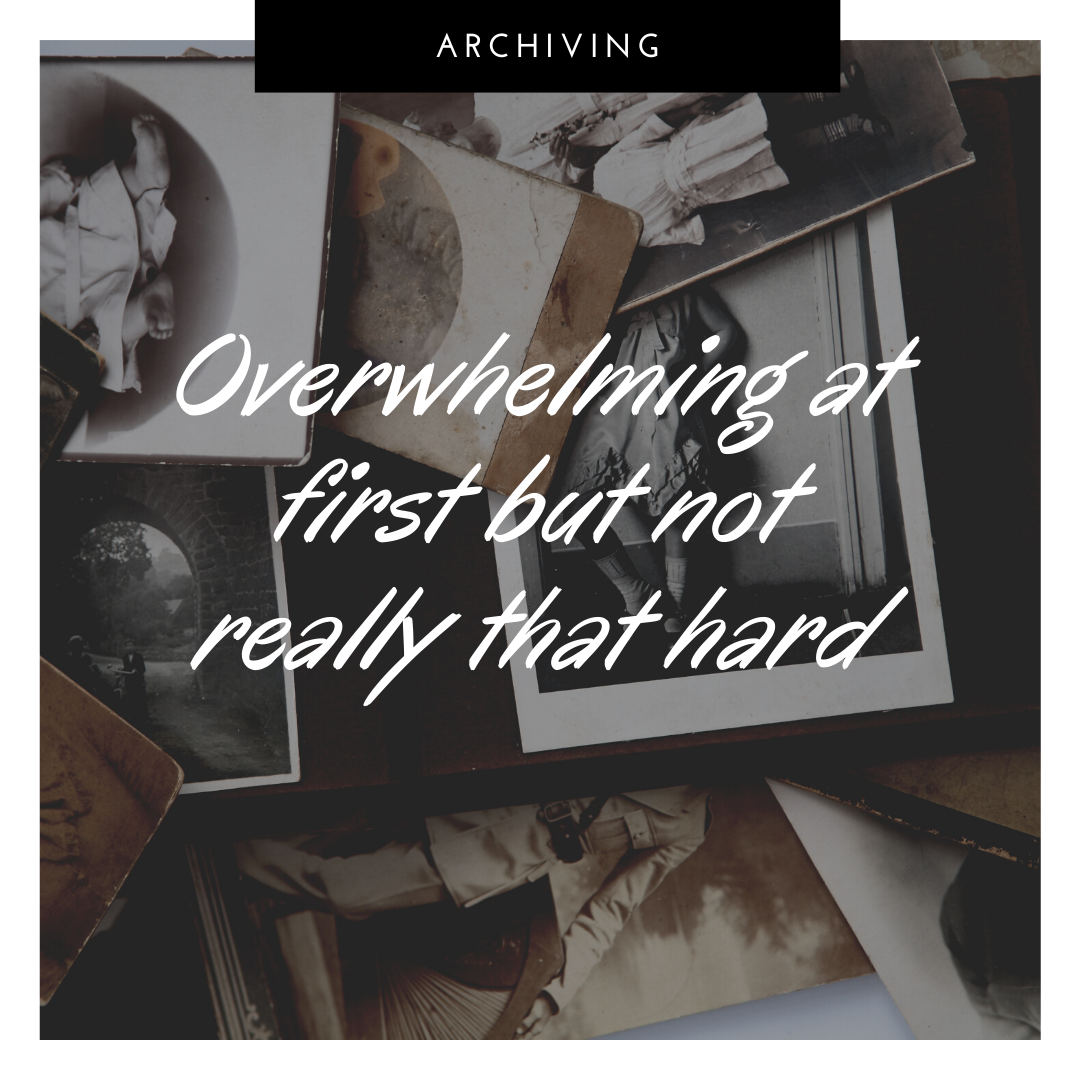
Scanning photos to digital copies is overwhelming at first but it's not that hard and I promise you will be so happy that you finally got all of that stuff scanned. So, I'm here to walk you through it in excruciating detail:
(1) You need a computer, a scanner, and an external hard drive. You also need a Google Photos account (my preference) or another online photo storage account like Flickr. You can pick your own gear out, but here are my affiliate links for the ones that I use and recommend. I'll explain more about them in the steps below.
- Scanner: CanoScan LiDE 220
- External Hard Drive: Seagate 2TB Hard Drive
- Photo Organizer Case (optional - for storing photos safely after scanning): Scrapbooking 1,600 Photo Case
- Fireproof/Waterproof box (optional - for storing larger photos or other important photos, documents, and/or paper memorabilia): SentrySafe
- Computer: MacBook Air (Recommended mainly because it's lightweight and portable - good for scanning at relative's houses or research centers. However, your current computer is likely compatible with the scanner above.)
*Little note here - some of this gear is a little pricey but I believe it's worth the investment so you don't lose your photos. You can quickly spend the same amount if you outsource and have someone else scan them for you. Plus, this way you retain control over your property and avoid any "lost in the mail" disasters.

The scanner I always recommend is the CanoScan LiDE 210 from Canon (affiliate link) because it's very easy to use and it only needs to plug into your USB port for power so you don't have to worry about finding another plug. It's also light and thin enough to be portable and it's easy for me to take my CanoScan and my MacBook Air to the library or to a relative's house to make a few quick scans of something I can't bring home.
For external hard drives, I'm not wildly picky but I usually go for ones that are 1 to 2 TB in size. Larger than that and the hard drives get bulky, smaller than that and I find myself with lots of hard drives all over my house. I would also recommend having one exclusively for photos, just because you don't want to lose scanned photos in between work files and music files. Photos also tend to be the things that people ask you for (at least in my experience) so it makes it easier to have them all in one place when you're hunting around.

(2) Start with your overwhelming pile of photos that are all different sizes.

(3) Take a small handful - just enough to fit on the scanning screen.

(4) Arrange them so that the edges aren't touching and they aren't too close to any of the edges of the screen. Don't worry about whether or not they are upside down - that's easy to fix on your computer when you open the file.

(5) Plug the scanner into the USB port on your computer. Push the "scan" button on your scanner to start the process. If you haven't downloaded the software yet, be sure to do that so your computer knows to open Image Capture when the scan button is pushed.
You only have to push the scan button the first time, to turn the scanner on. It will warm up and then do a preliminary scan (an Overview). Once the scanner is warmed up, you'll want to start by selecting Overview from the menu. This will let the scanner do a quick pass to show you what it will be scanning. Be sure that your settings are set (and if they aren't, just fix them and do a new Overview scan). You can mess around with the settings to fit what you're doing, but my preferences are "Colors: Millions" "Resolution: 1,200" and "Auto Selection: Detect Separate Items". The last setting is my favorite because it lets you scan multiple photos at the same time.


(6) After the Overview scan, the program will show dotted lines at the edges of each image to show you where it thinks you want it to scan. Most of the time it gets it right, but images with borders or white backgrounds are a little tricky so drag the lines until it captures the images you want.

(7) Once the lines are correct, hit Scan. The scanner will warm up and scan each image individually.

Once scanned, the photos will show up wherever you directed them. I put them on my desktop so I can find them easily.

(8) At this point, your files are digitized and ready to go. Unfortunately, if you're doing a ton of them you probably won't want to leave them on the computer because they'll pile up and slow things down. So, you'll want to move them to storage and I would say choose at least two different methods so you don't lose it all if something fails. First, move your files to Google Photos (or you can use a different online photo service, but if you do you might want to skip down a bit). To upload them, just open your Google Photos account and drag your files onto the screen. Google automatically adds them.


You then have the option of creating an album or making a new one. I prefer to put all of the photos into one album with the date that I scanned them and then sort them out later. The great thing about Google Photos is that you can reorganize them easily and you can also add comments to say where the photo was taken and who is in it, etc. Plus, it's the easiest way to share them.


(9) After you've uploaded the photos to an online photo storage system, move on to putting them on your external hard drive. Locate it and set up a folder for the photos. Again, I like to use the date just because it's easiest.

I do usually have two folders because there are occasionally photos that won't upload to Google Photos because they're too big. You probably won't have to do this, but I did tell you I'd show you in excruciating detail.


Drag the photos to that folder and you're done! If you get an error that you already have a file with that name, you can usually use the option to Keep Both and Apply to All. If it just says Skip (and not Keep Both) try selecting and moving a smaller number of files. Sometimes it gets picky if you're moving more than two or three.

Once the files are in there, you're set! You can drag the files off of your desktop (or wherever they originally scanned to on your computer) and put them in the trash so they don't take up storage space. You now have them saved online and to your dedicated photos external hard drive.
Obviously, the perks of having digitized photos are many, but I mostly love that I can share them easily and that I can blow up super small photos and turn them into larger prints for gifts. I also use Photoshop to fix things like scratches and rips or to color correct faded photos before using online album services to make photo books.
Another way to share family photos is to set up a profile on Ancestry.com, which allows you to assign photos to certain people and make them searchable. I always get excited when I find photos other people have uploaded that I've never seen before, so I like to contribute to that service.

You can also share them on Facebook, although if you have a ton I would recommend either setting up an album and sharing them all at once or setting up a private group and only adding people who would be interested. I've had my feed clogged before by someone who has hit a sudden genealogy bend and I have to admit that other people's family photos can get a little tiresome if you're just skimming your Timeline. Plus, family Facebook groups are helpful if you don't know who everyone in the photos is!

Do you have other questions about scanning photos? Leave your question in the comments or reach out to me at carly@familytreenotebooks.com and I'll help you out!